Adjustment Process
Hinge adjustment is easily achieved with just two steps:
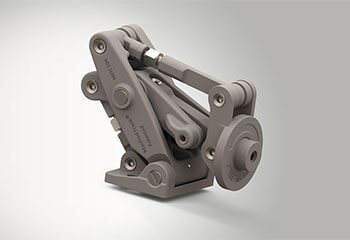
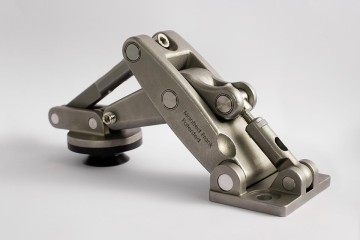
1. Once mounted, the first hinge adjustment to make is to set the correct height position. To do this, unscrew the uppermost set screw as this will allow the height adjustment arm to move. After this, turn the lower set screw until the desired height is reached. Finally, turn the upper set screw down to hold the height adjuster arm back in place.
2. The next step is to manipulate both the sideways and compression linkages until the panel is aligned. When adjusting the length of a linkage there might be a slight crossover effect on the other linkage. For example when adjusting the panel compression it might be necessary to compensate for the crossover effect on the sideways linkage. Thus, aligning the panel is a quick and simple process of refinement. Check it out in action here.
JOB DONE!
As you can see, the adjustment process is fairly simple. It can be easily completed by one person without the need for special training, tools or equipment. Furthermore, it is achieved after the hinges are installed when they are under full load. Perfect panel alignment is easily accomplished and will last a lifetime.


